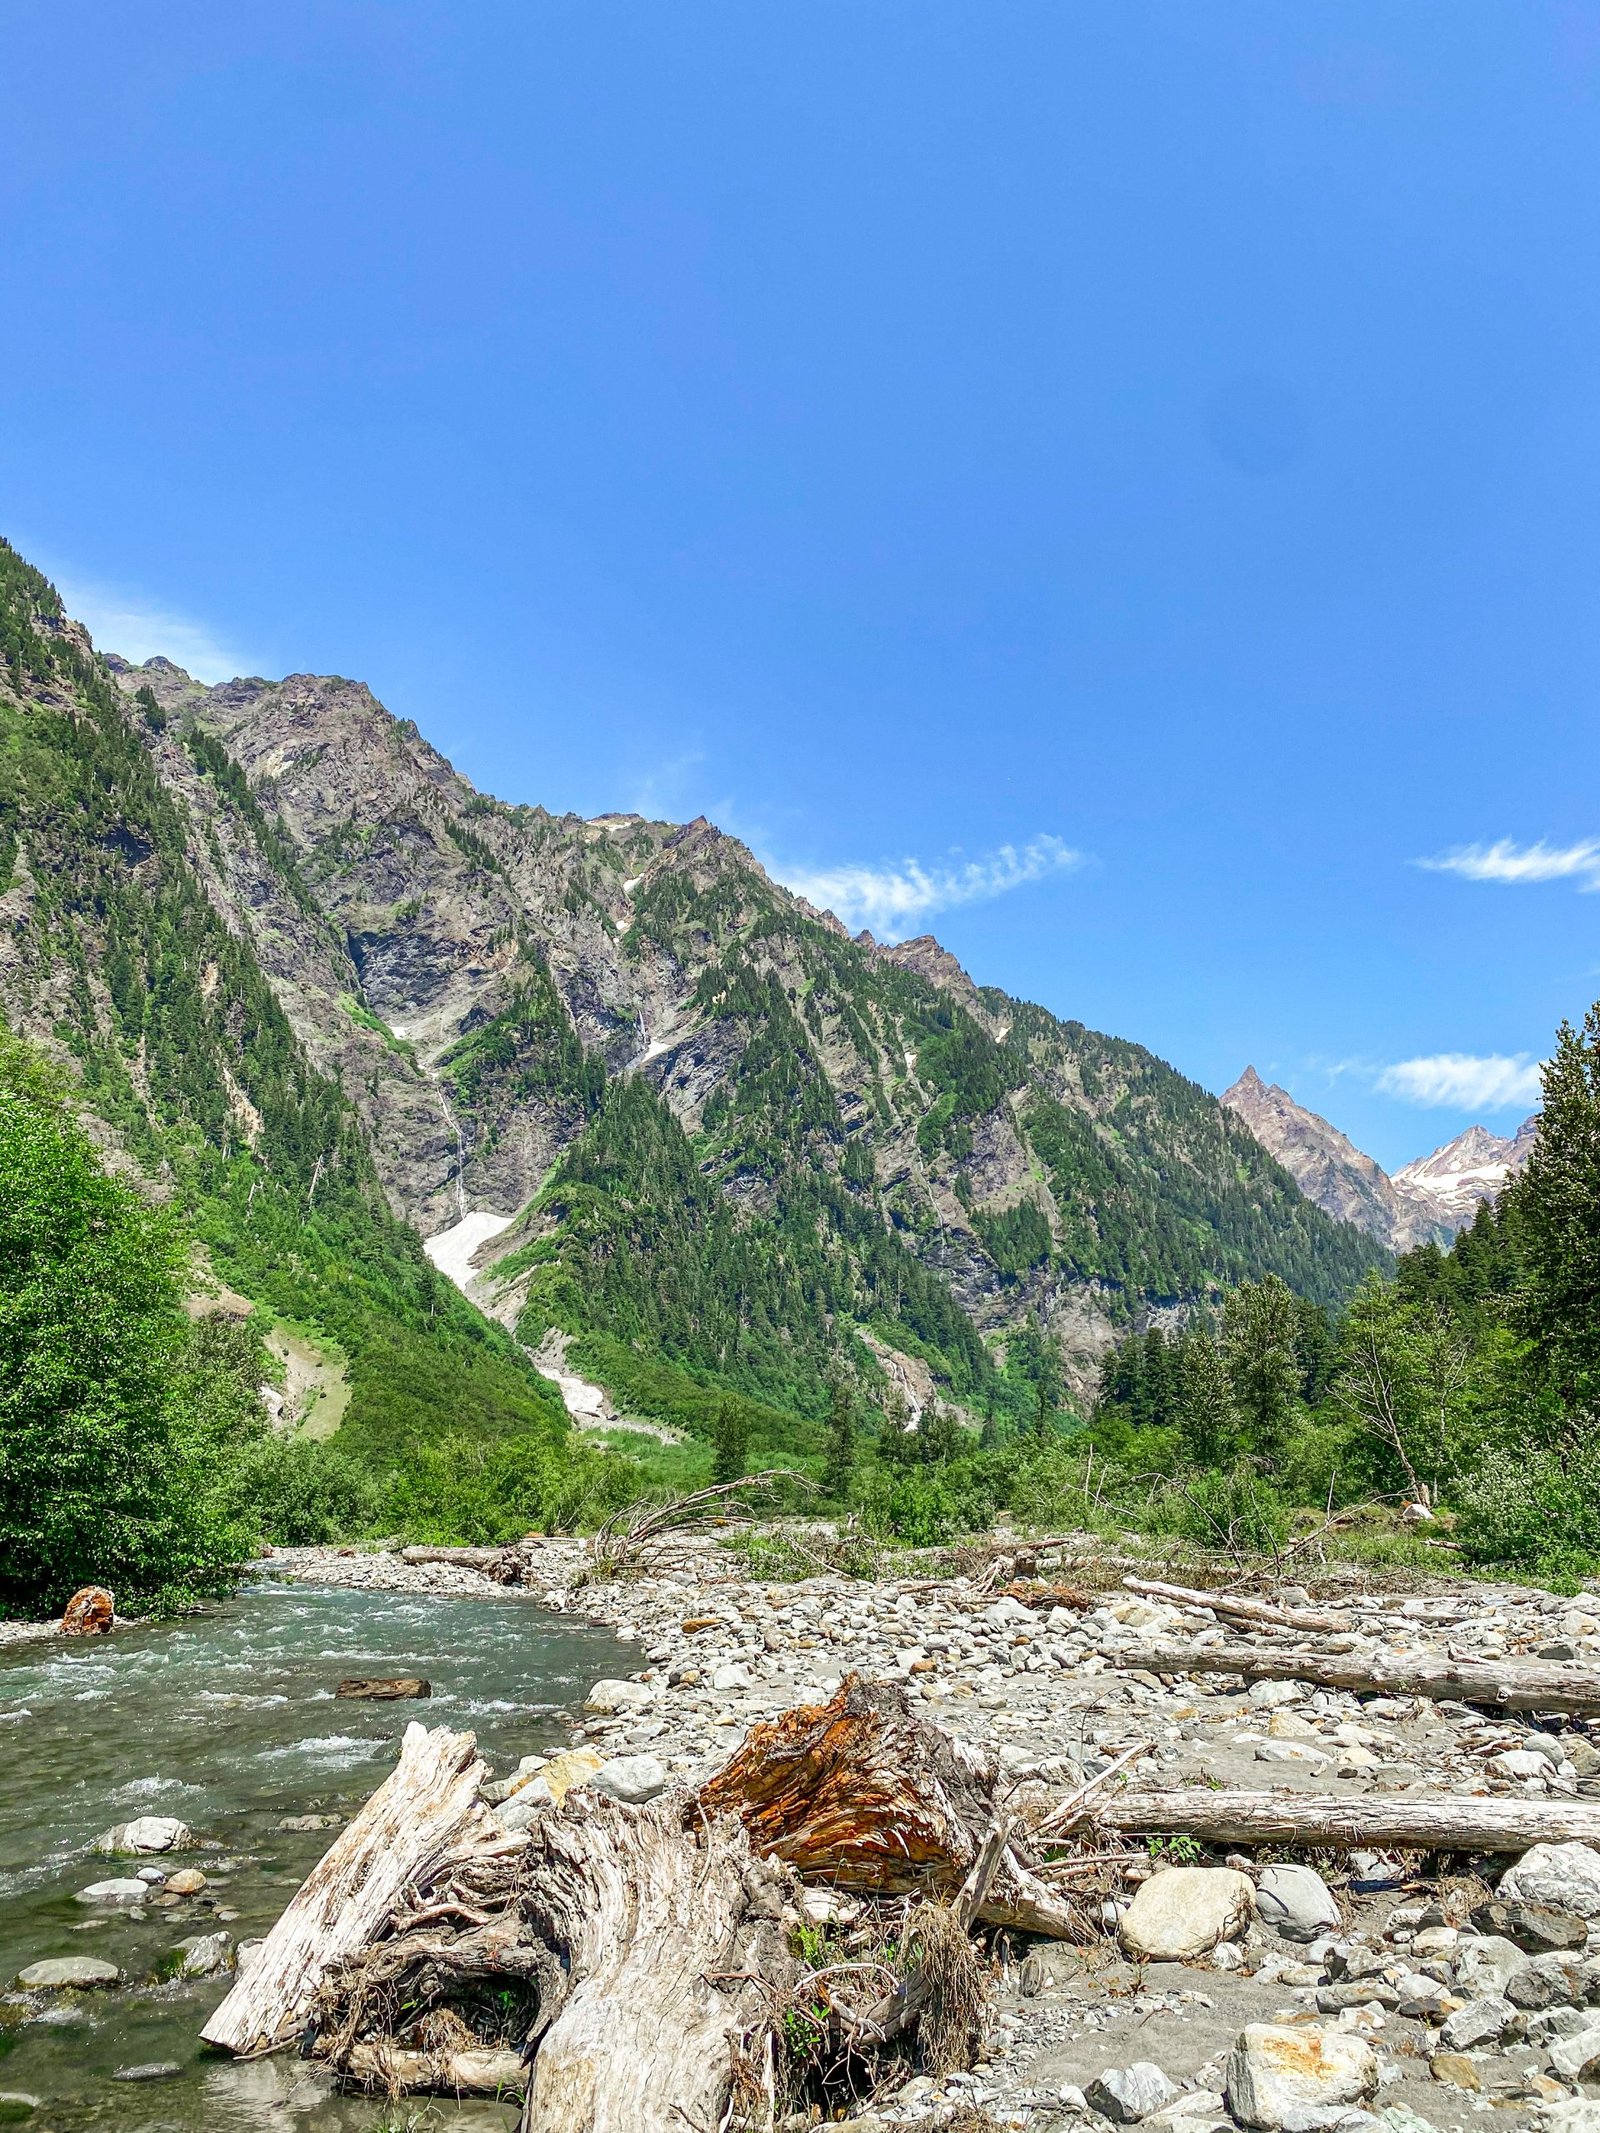
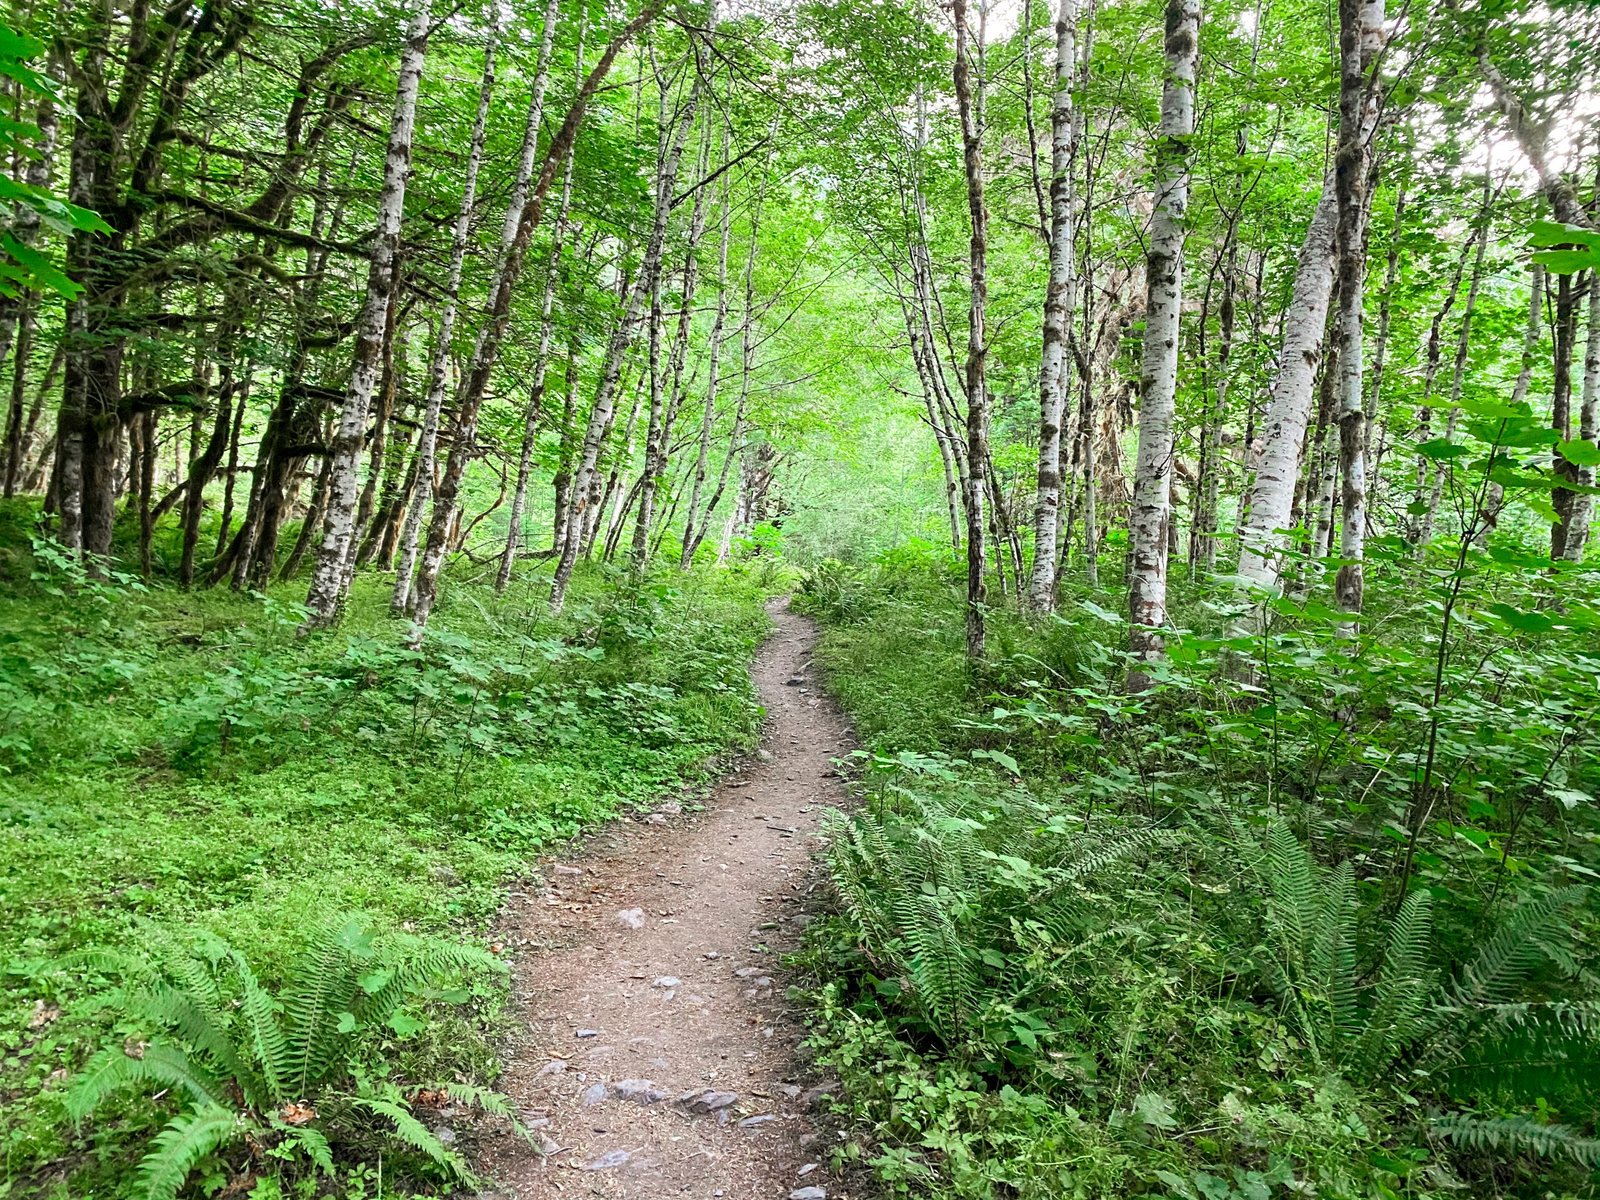
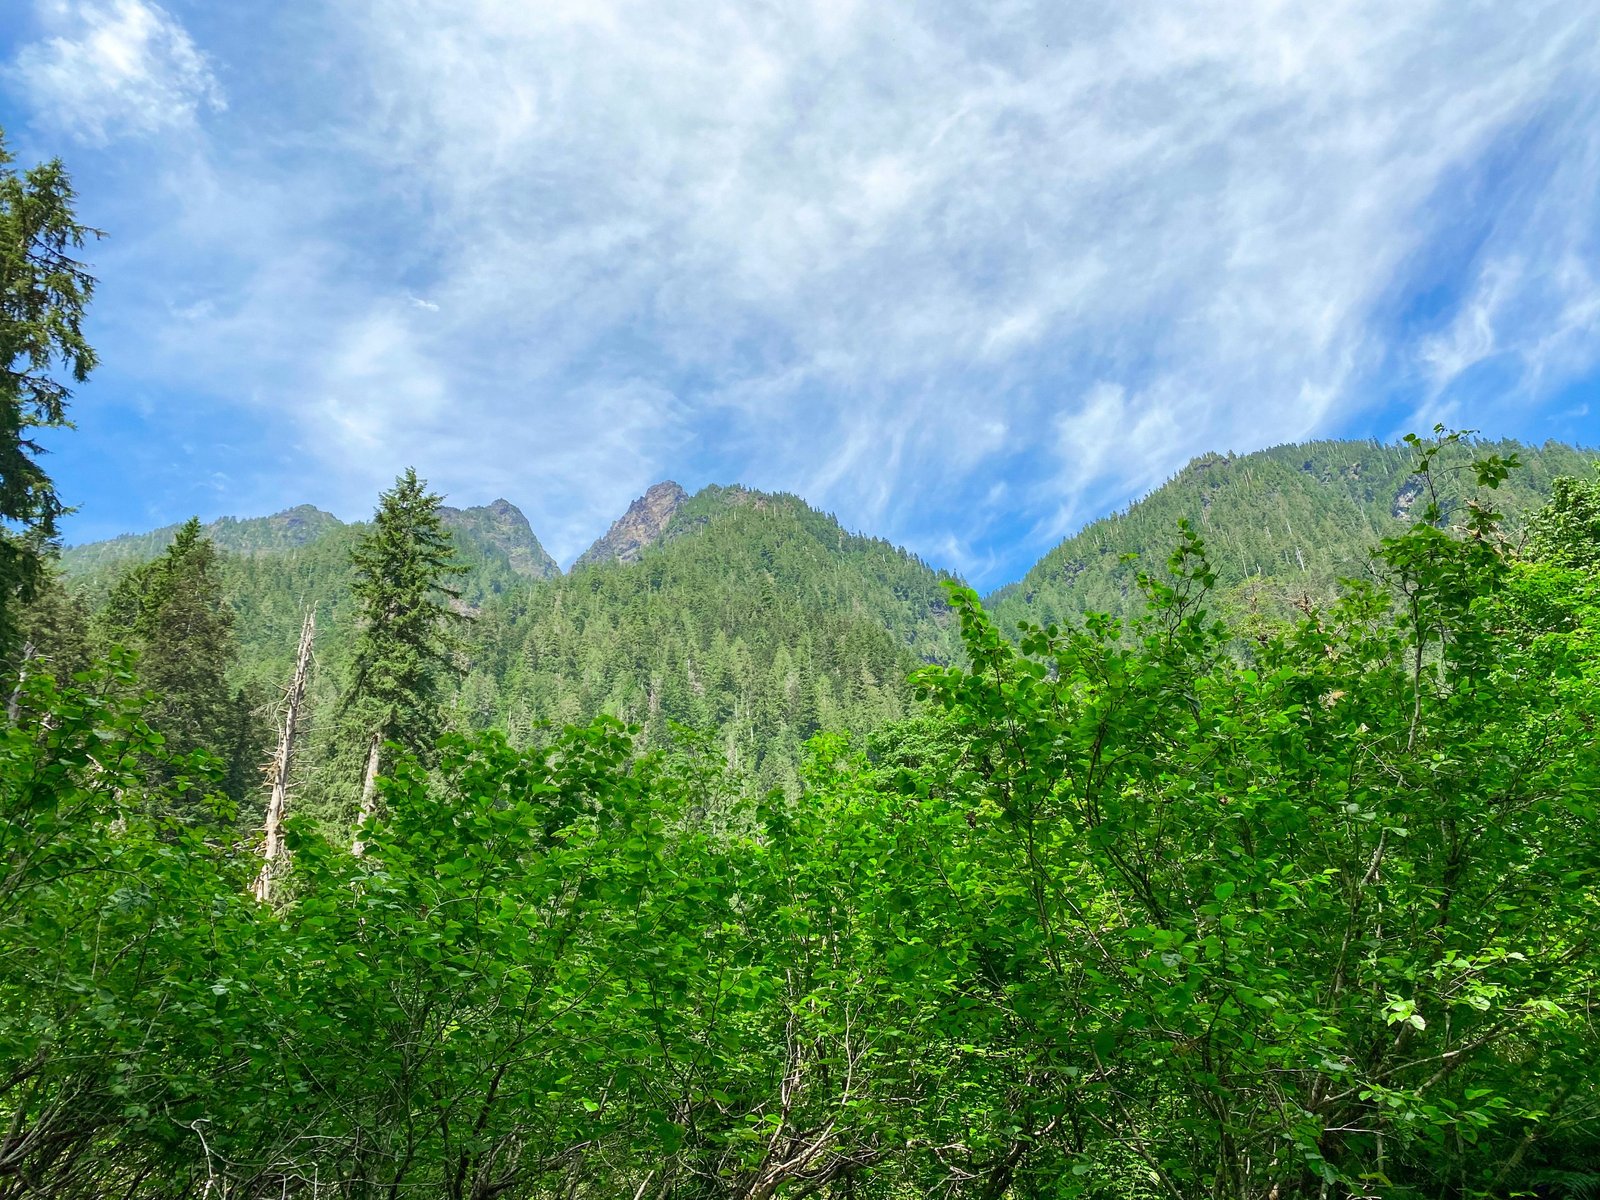
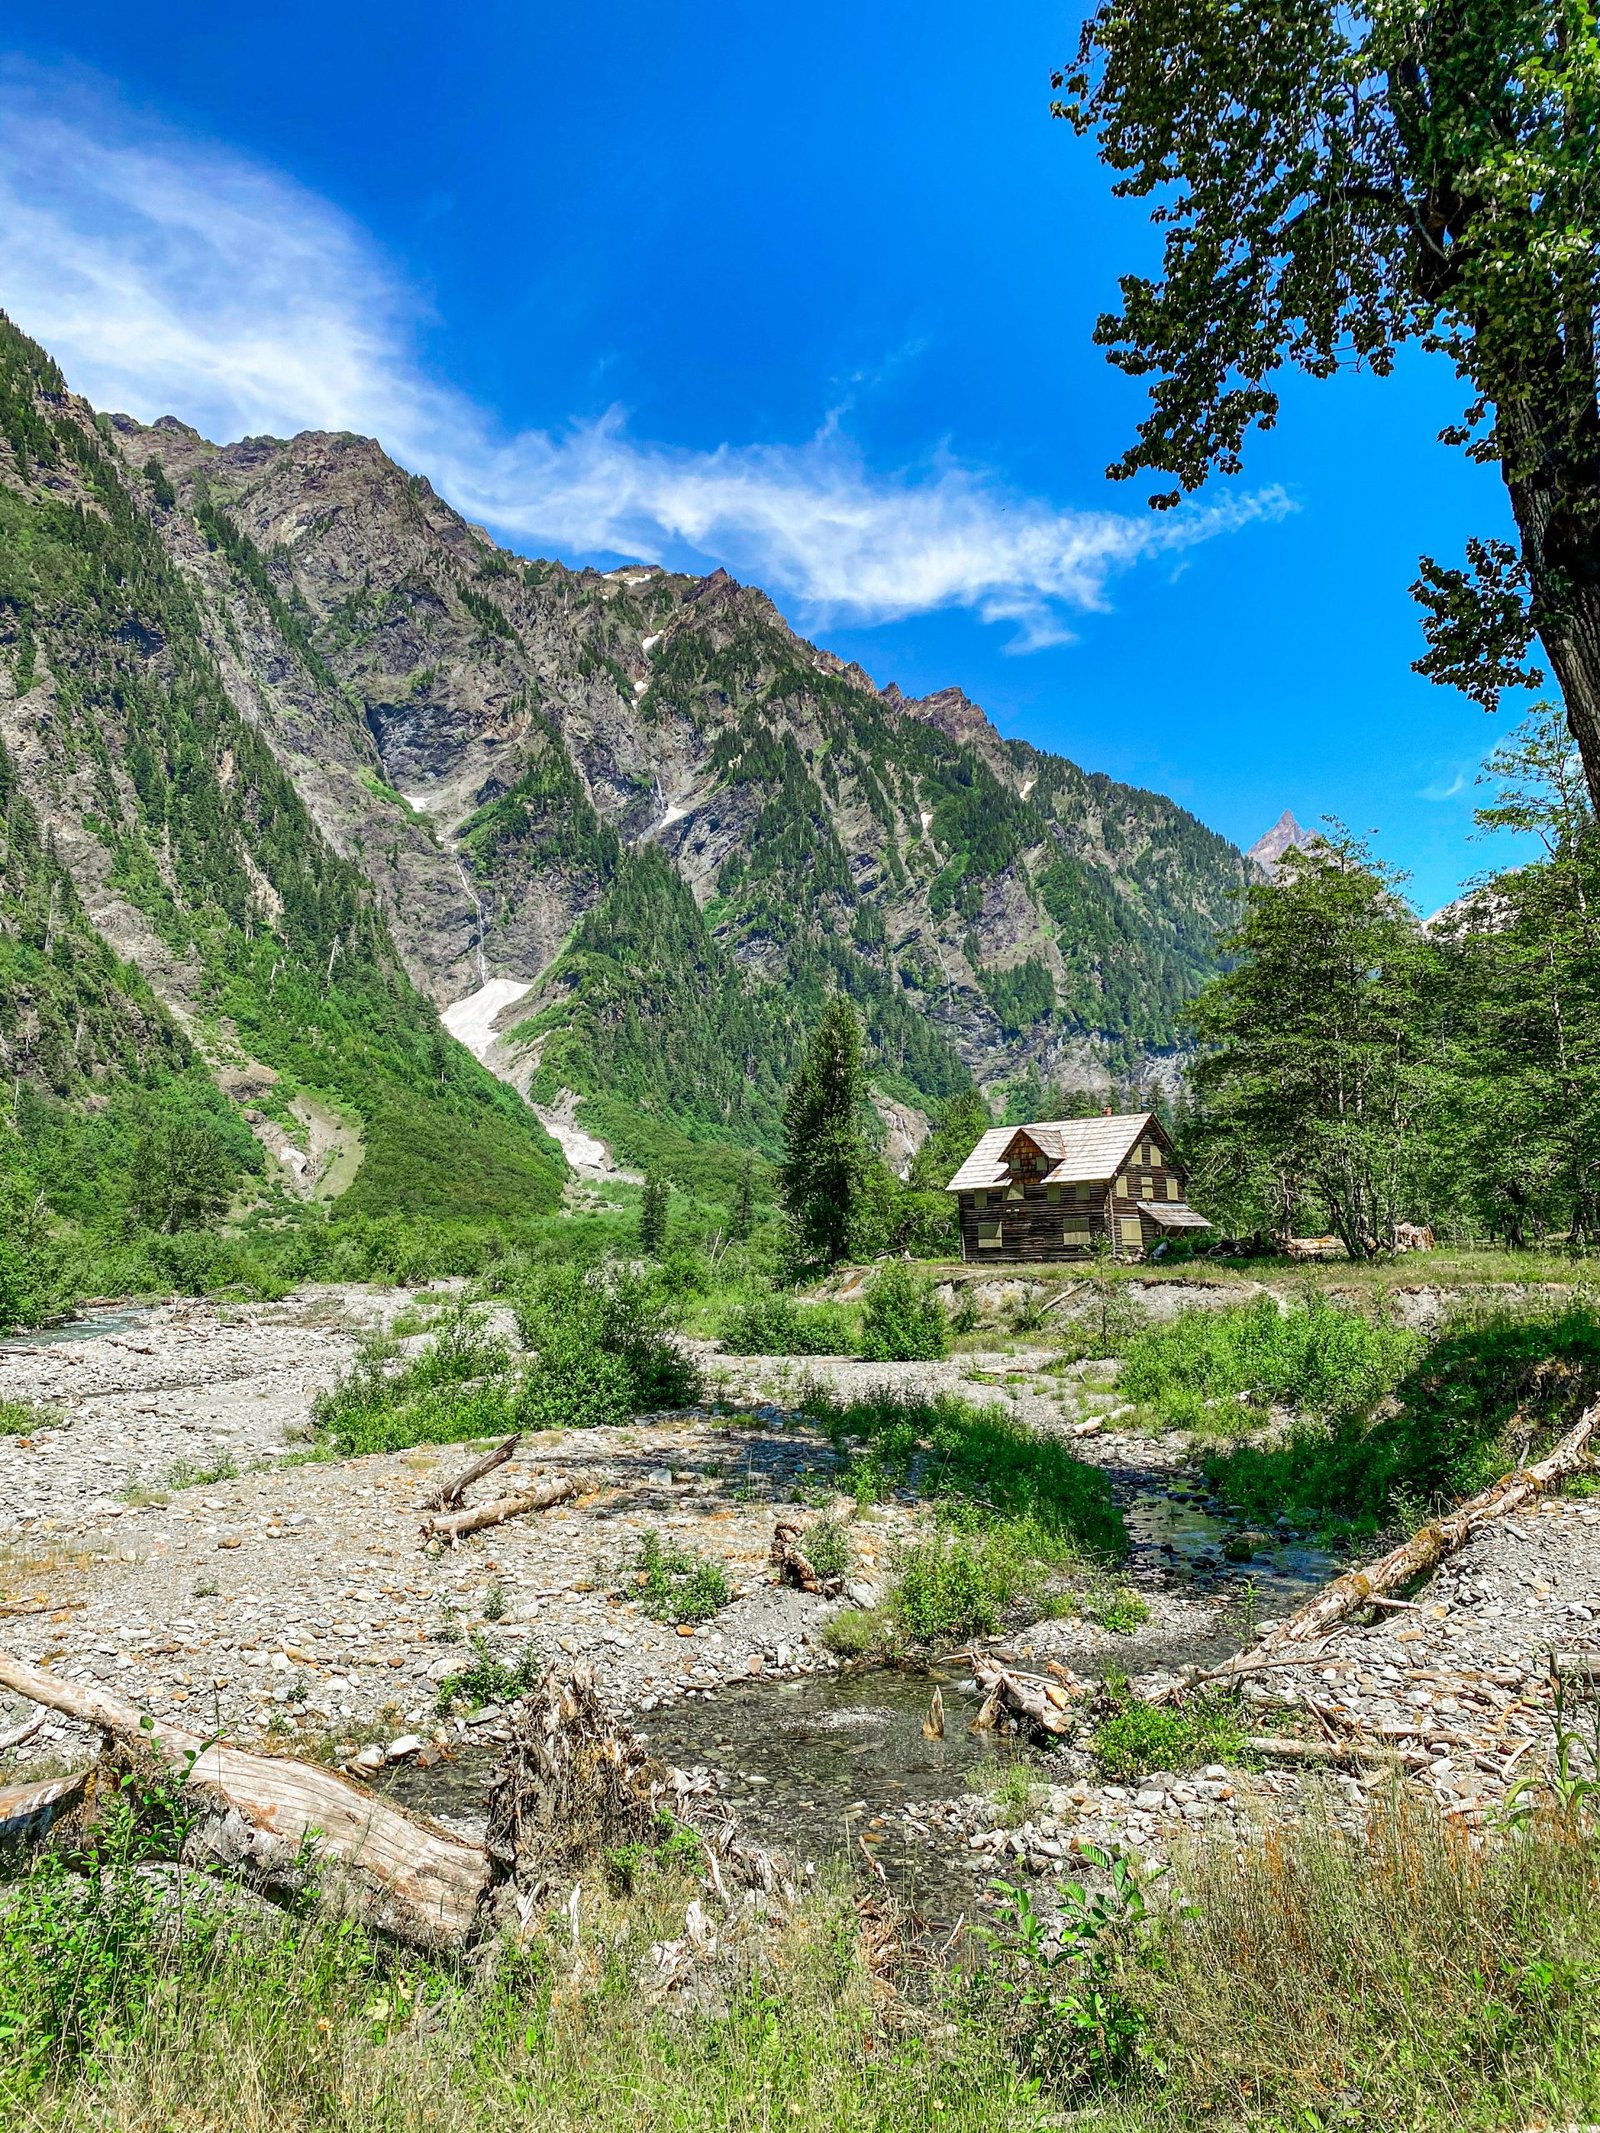
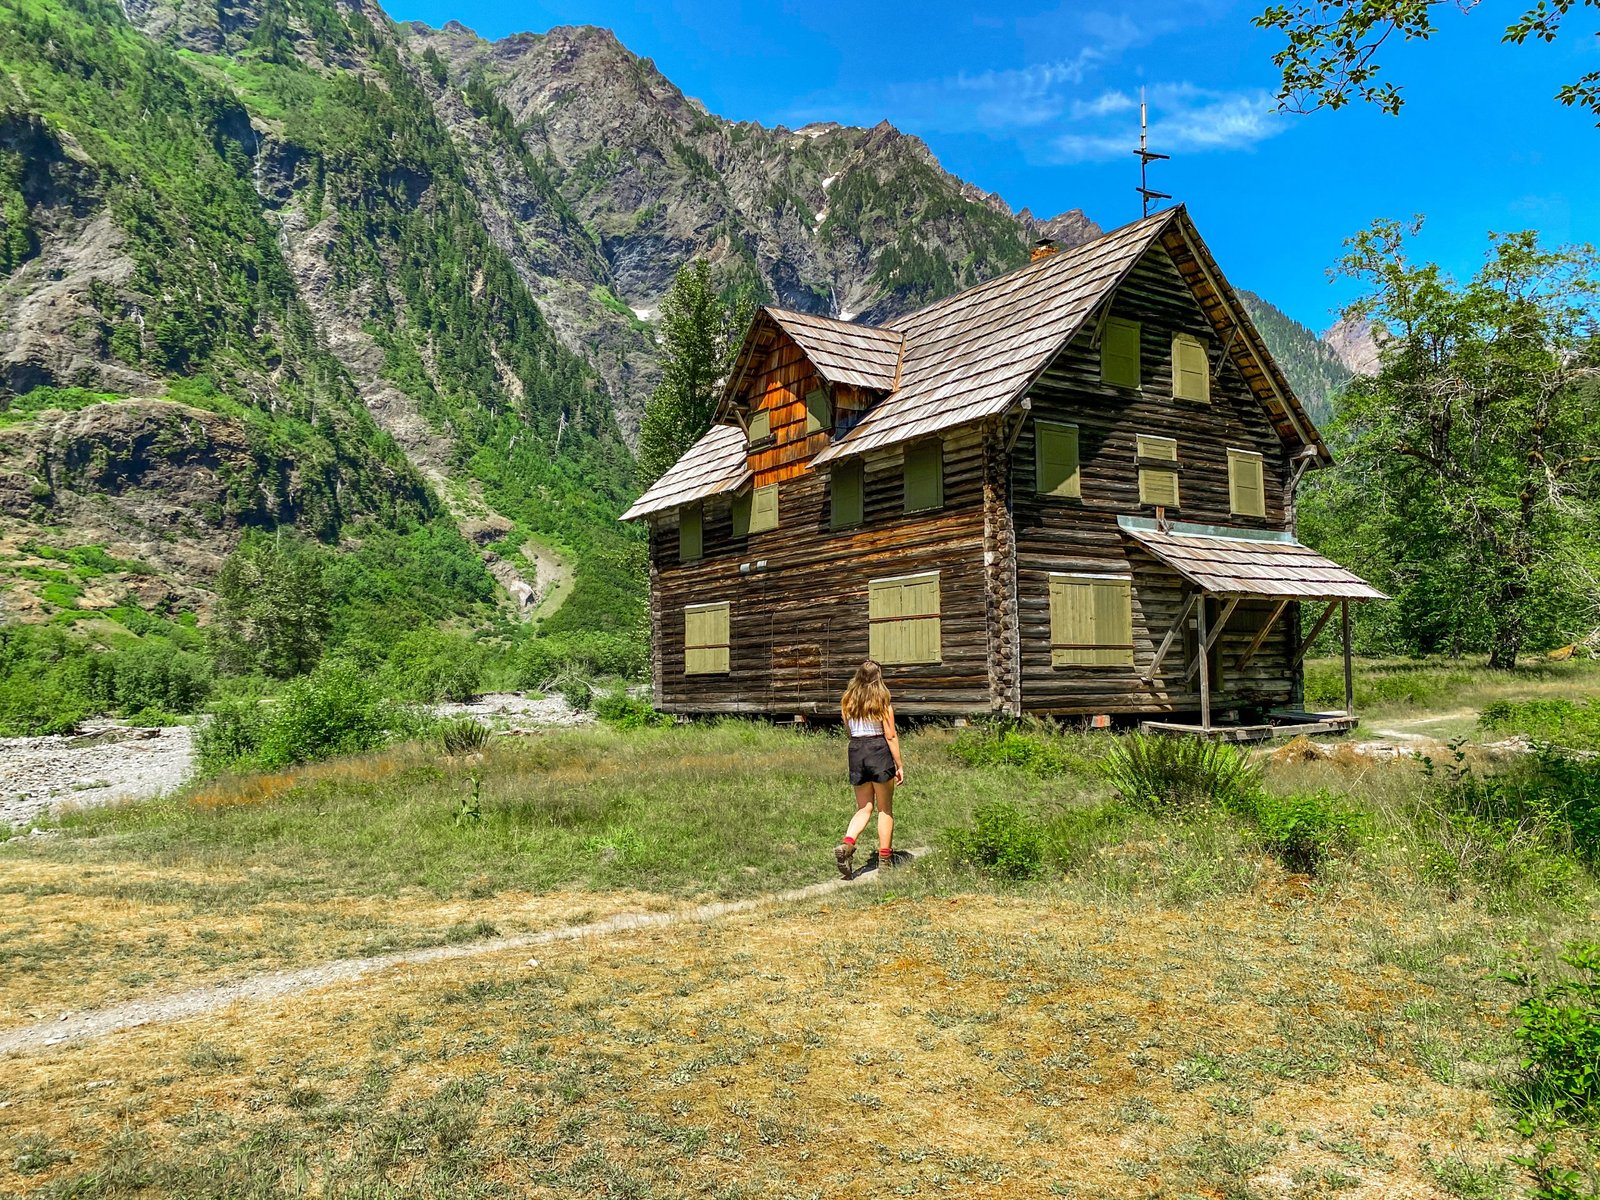
The Enchanted Valley in the Olympic National Park is one of the most popular backpacking trails in the region. Backpacking Enchanted Valley will lead to stunning views of the mountains, as well as the opportunity to explore the historic chalet. Along the trail, you’ll find bridges, waterfalls, river views, and possibly wildlife like elk or bears. While it is possible to hike Enchanted Valley in just a day, and there were several along the trail during my trip that were doing so, backpacking will give you more of an opportunity to enjoy the scenery since it’s on the longer side. In this post, I’m covering everything you need to know before backpacking Enchanted Valley including what to expect on the hike, packing essentials, and suggested itineraries.
Disclaimer: This post contains affiliate links. This means that I get compensated a small amount if purchased through one of these links at no extra cost to you. I always only link products I truly love and any profit made goes to running this blog. Thank you for your support! For more on my disclaimers, you can click here.
Guide to Backpacking Enchanted Valley in Olympic National Park
Getting There
The trailhead for this hike can be found at Graves Creek. Graves Creek is about 4 hours away from both Portland and Seattle. It is located at the end of a gravel road down from the Quinault Lodge. The gravel road is fairly intact, but trailers and RVs are not recommended along the road due to turns. Towards the end of the gravel road, there are some bridges where the gravel has washed out. It’s recommended that you have a good clearance on your car to make it by these areas and some of the potholes. My Toyota Corolla made it just fine, but a car with lower clearance would have scraped or had trouble getting by.
Graves Creek Campground
Graves Creek Campground is a great starting place if you plan on backpacking Enchanted Valley. This campground has vault toilets and no potable water, so make sure to plan accordingly! There are 30 campsites and in the summer months, each site costs $20/night and is first-come-first-serve. Only credit and debit are accepted, and there are slips to write down your card information at the campground. There is no service at the campground and you cannot pay online.
Each campsite is equipped with a picnic table and fire pit. The best sites are the ones by the water so that you can easily filter your water, and get to hang out there during the day. In the summer, the sites can fill up fast, especially on the weekend. Make sure you have a backup plan in case the sites are full!
Enchanted Valley Trail
What to Expect on the Hike
According to AllTrails, the hike is 27.0 miles and has an elevation gain of 3,244 ft. On its own, the hike wasn’t too challenging with the elevation gain, it is just on the longer side. However, adding a pack to the ix is another factor that can increase the difficulty of the hike. This trek would make a good first backpacking trip since it can be completed at a good pace in 3 days and doesn’t have any technical aspects. There were several older kids and teens that I saw backpacking with their parents along the trail, as well as a variety of ages. However, I wouldn’t recommend it for younger kids due to the length. There are also no dogs allowed on this trail since it is in the Olympic National Park.
The several milestones along the trail are as follows:
- Pony Bridge – 2.5 miles in (3 primitive campsites + privy)
- Fireside Creek – 3.5 miles in (3 primitive campsites)
- O’Neil Creek – 6.9 miles in (6 primitive campsites + privy)
- Pyrites Creek – 10.25 miles in (12 primitive campsites, 6 on each side of the creek)
- Enchanted Valley – 13.5 miles in (lots of campsites, 2 privys)
Pony Bridge
The beginning of the hike towards Pony Bridge is a gradual climb up 500′ of elevation until a steep descent for the final .25 miles to the bridge. After the bridge, there is another climb until it gradually tapers off and lowers you once more to the river. Make sure you have enough water to last you since the first place to filter water isn’t until about 3 miles into the tail.
Fireside Creek and O’Neil Creek
Fireside Creek is a great place to stop for lunch or a snack since there are lots of logs to sit on and a cool chill coming off the water. O’Neil Creek campsites are down a 100 m descent and only one of the sites sits along the river and had a ton of mosquitos in July. If you want to break up your hike (more on itineraries below), O’Neil is one of my recommended campsites. There is a privy and bear lines for hanging your bear canisters (just make sure to bring a looped bag to clip it on).
Pyrites Creek
Continuing onward, the trail between O’Neil and Pyrites Creek does have some inclines, but it starts to even off when you’re about a mile away from Pyrites. Pyrites Creek is another great place to stop if you’re breaking up your trip.
There are six campsites on the first side of the river, 4 of which are under the cover of the trees and 2 of which are out in the open near the river. The ones on the river don’t get much shade, but it’s nice to be close to the river. If you continue on the trail, there will be a bridge to the other side of Pyrites Creek where there are six more sites. On this side of the creek, there is less tree coverage and it opens up into more of a meadow. There are no privies at Pyrites, however, there are bear lines on both sides of the river.
Enchanted Valley
About 3- 3.5 miles away from Pyrites Creek is Enchanted Valley. This part of the trail is the easiest segment but has a few longer areas that have less tree cover and shade. This part of the trail is also where there are the most bear sightings. If you’re looking to go further than Enchanted Valley, you can continue on from here to Anderson Pass.
Backpacking Enchanted Valley Itineraries
There are many different options on how you can backpack Enchanted Valley, but I will cover some of them below!
Option 1: 2-Day Trip
One option is to hike the 13.5 miles to Enchanted Valley, camp overnight, and then hike back the following day. This is doable, but make sure to start earlier if it’s going to be hot. Otherwise, you may be hitting the areas with less tree cover during the peak heat and sun.
Option 2: 3-Day Trip
If you don’t mind camping at one of the lesser populated campgrounds or one of the many spots cleared for campsites along the way, this option is perfect. One option is to camp at O’Neil during your first night and then hike the remainder of the way to Enchanted Valley the next day. By Day 3, you can hike back and it’s much easier since there are fewer uphill portions. Another 3-day option is to camp at Pyrites both nights and take a day hike to Enchanted Valley. This option is great so that you don’t have to carry your packs for around 6 miles of the trail and can leave your camp set up. This is the option that I did.
Option 3: 4-Day Trip
If you’re looking to hike in shorter portions, camping once on the way to Enchanted Valley, camping at Enchanted Valley, and then once on the way back is a good option.
How to Get Backcountry Permits
Permits for Enchanted Valley can fill up fast for the weekends, but even if you aren’t able to get a permit for Enchanted Valley itself, you can grab a permit for one of the campsites along the way. I had no problem purchasing permits less than a week before our dates.
To purchase a permit, visit this website and select “check availability” on the right side. You will click on “Quinault” and can select your dates and group size to view the number of permits left. Once you select your dates you can check out. You will need the names of everyone in your group as well as the car information that will be parked at the trailhead. It costs about $9/night per person as of now to get a permit during the summer.
You will need to print out your permits and carry them on you when backpacking Enchanted Valley. I did not run into a ranger who asked to see my permit, but they are known to check permits while on the trail, as well as make sure you are carrying a bear canister.
Other Tips
Bears
One of the appeals of Enchanted Valley is the opportunity to see black bears. There is a high likelihood that you will see a black bear if hiking this trail. I did not have the opportunity, however, other hikers on the trail had mentioned seeing some. Bears are especially common in the valley and higher elevation areas. When backpacking Enchanted Valley, a bear canister (not just a bear bag) is required. Also, make sure to bring a bag with a loop to hang on bear lines if available. For emergencies, it is a good idea to keep a can of bear spray on you. Be sure to have it accessible at all times.
Black bear attacks are rare and no attacks have been reported inside the Olympic National Park. However, it is still important to stay safe and practice bear safety. Some basic rules are to never run from a black bear or approach. If a black bear is in the area, quietly move out of the area. If a bear does approach you, make yourself big and make a lot of noise. Use bear spray if a bear is actively charging at you and is 10- 15 ft away. For more tips on bear and other wildlife safety, check out this post by the Olympic National Park here.
Water
This hike is near a water source, however, you must bring your own method to filter water. I used the Sawyer Mini (here) which was effective, worked well, and at a great price point. However, could be a little slow compared to other water filtering methods. There is a larger Sawyer available for just a few dollars more that is a bit faster at filtering the water (here). Another method is to use a Katadyn water filter (here) which is effective and a bit faster but is at a higher price point. The Katadyn also comes with a bottle top making it easy if you’re bringing along a wide-mouth bottle such as a Nalgene.
Bathrooms
There are no bathrooms along the trail aside from a privy at Pony Bridge, O’Neil, and two at Enchanted Valley. If you are not familiar with a privy, it is essentially an outhouse in the backcountry. If you are not near a privy, you will need to find a spot 200 ft away from a water source to go. A trowel, baby wipes, and toilet paper are essential to bring. Make sure that you pack out what you pack in, including toilet paper baby wipes that you have used. It’s not necessary to dig a cathole if you need to pee. However, for all other instances, dig a 6- 8 inch cathole and bury any waste.
Bugs
There were a lot of bugs while visiting in the summer, some areas more than others. There were mosquitos, as well as small flies that would bite. Make sure to bring bug spray! I did, although it didn’t completely deter all of the bugs.
Chalet History
In the Enchanted Valley is a 2.5-story Chalet, which was completed in 1931 by the Olympic Recreation Company. The Chalet was purchased by The Olympic National Park in 1953 where it was used as seasonal lodging. In 2013 the lodge was closed due to limited maintenance and vandalism, so it can no longer be entered. There were also problems with the Quinault River eroding the building, so it was moved 100 ft from the river on steel beams to where it currently sits. For more history on the Chalet, you can read through a short article here.
Guide to Backpacking Enchanted Valley in Olympic National Park
Backpacking Enchanted Valley is a great way to experience the Olympic National Park! It was one of the best hikes I’ve done in Washington State. I would recommend backpacking Enchanted Valley to anyone up for hiking 27 miles! I hope this guide to backpacking Enchanted Valley in Olympic National Park was helpful. If you’re looking for more hiking and camping in the area, be sure to check out Mount Storm King, Marymere Falls, and Lake Crescent.
Thank you so much for reading! If you would like to be alerted of future posts, or follow along on my hikes, you can follow my Instagram here, or like my Facebook page here.
