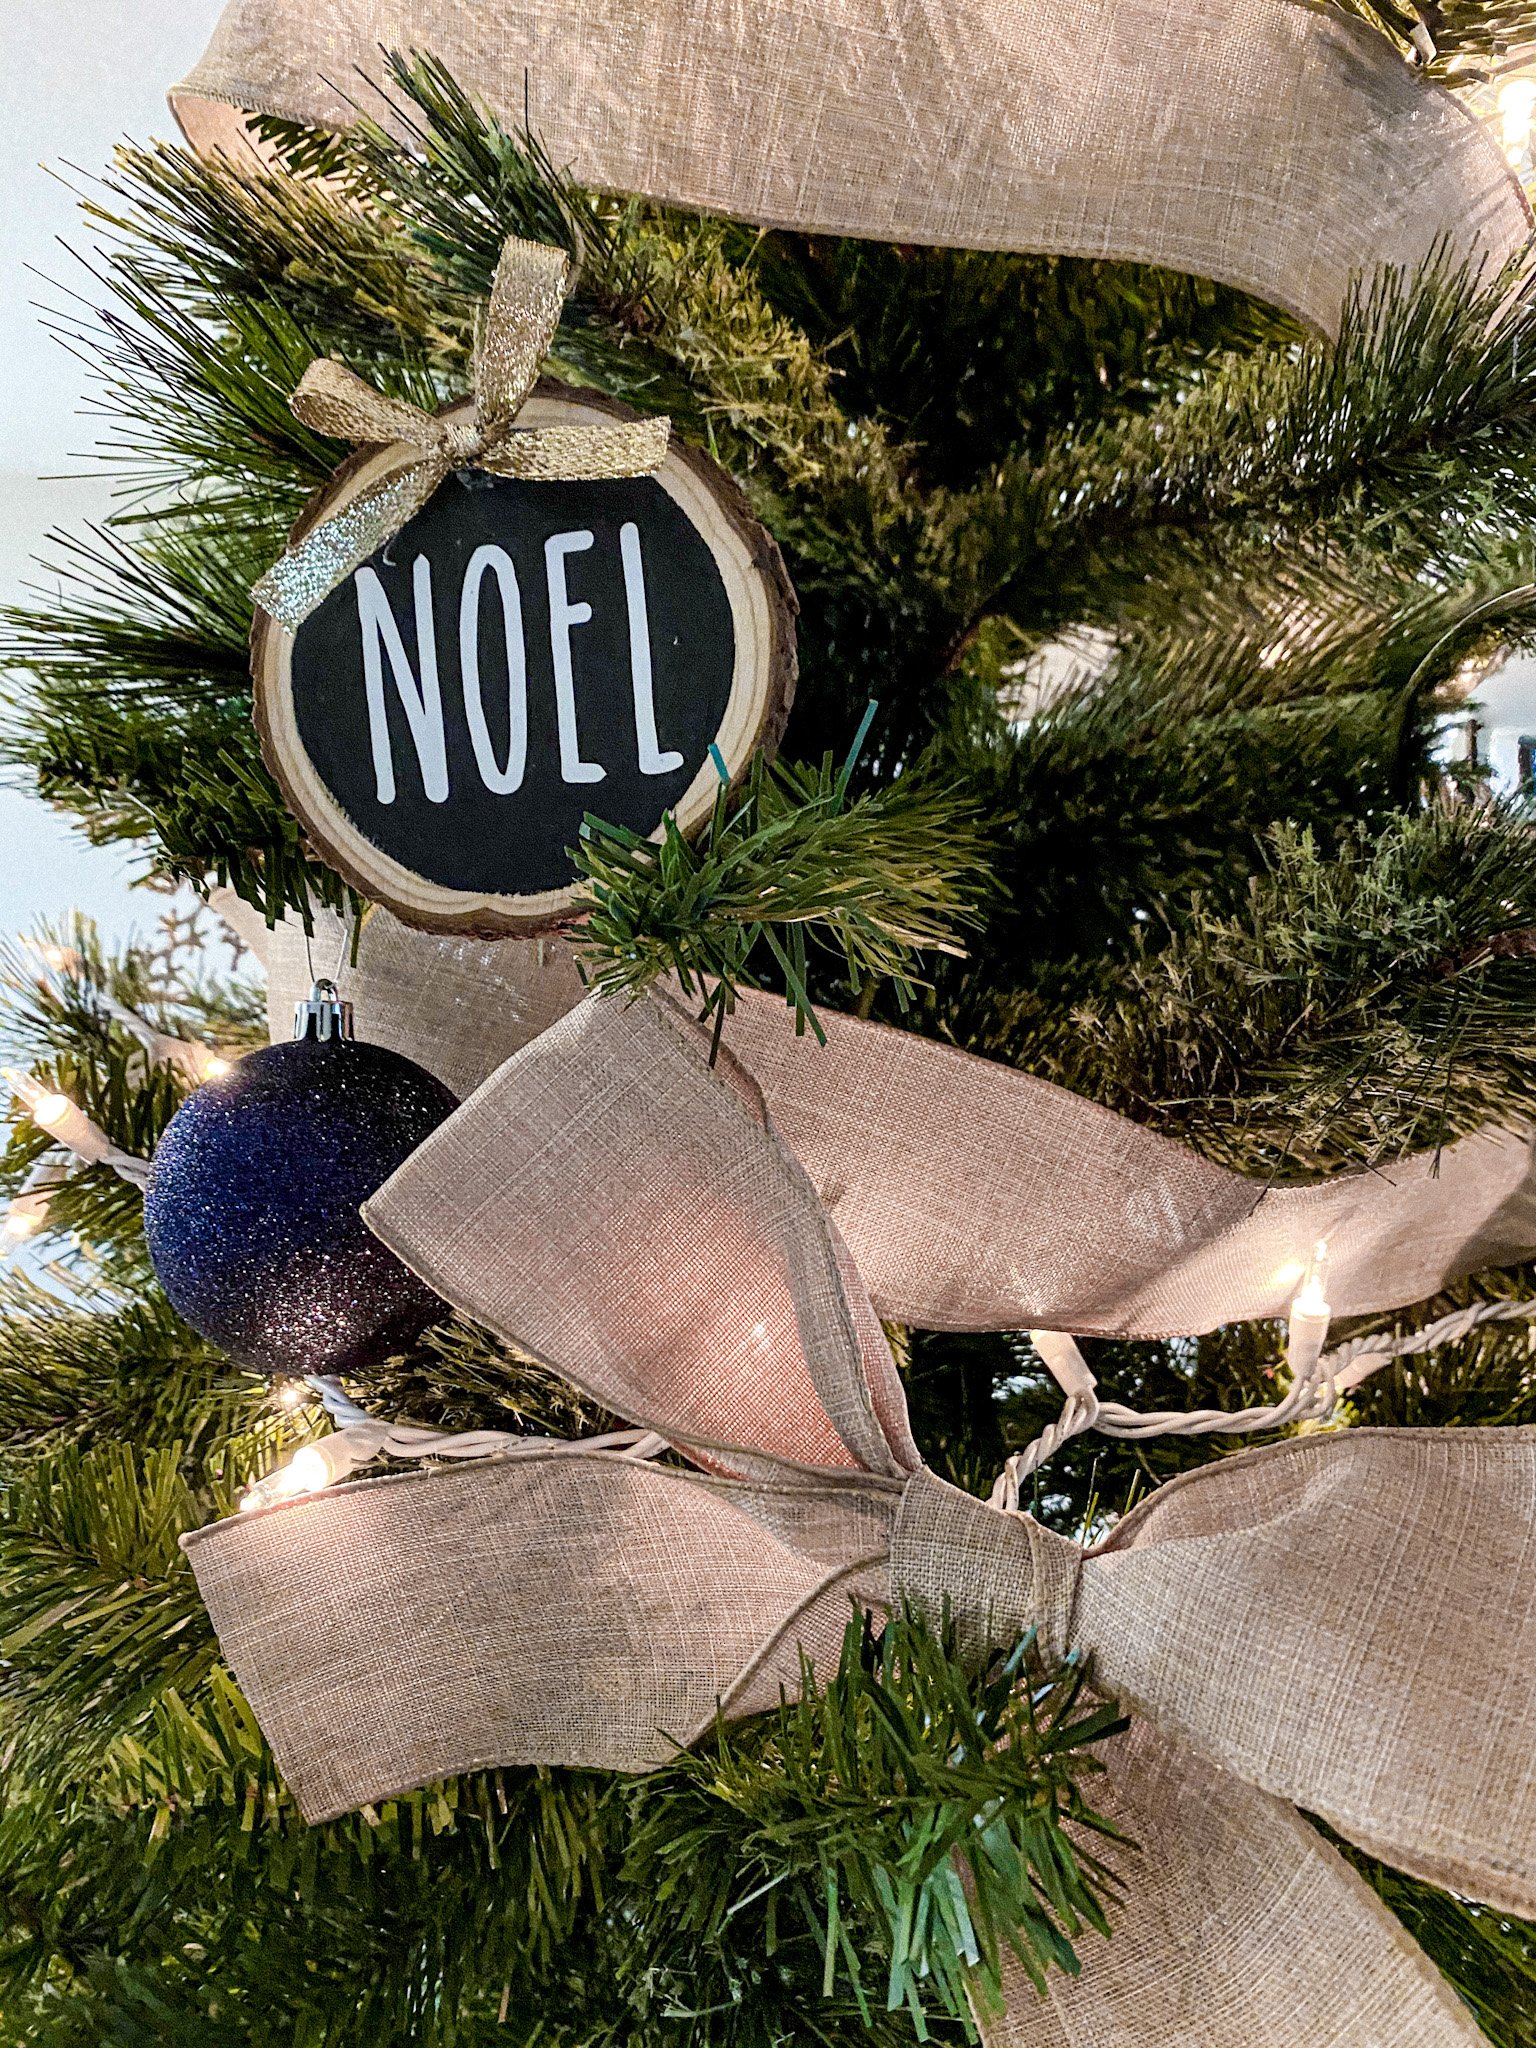
Although it’s almost Christmas, I wanted to post these DIY wood slice Christmas ornaments. This post will be up for future years and to pin in case you don’t have enough time to make them this year. I am super happy with how these ended up turning out, and it’s also fun to make and they’re pretty easy to make.
These are fairly inexpensive to make in bulk and since this was Danny and I’s first Christmas in our apartment, we needed to get all of our ornaments from scratch. These were the perfect solution to create a rustic Christmas tree.
Disclaimer: This post contains affiliate links. This means that I get compensated a small amount if purchased through one of these links at no extra cost to you. I always only link products I truly love and any profit made goes to running this blog. Thank you for your support! For more on my disclaimers, you can click here.
DIY Wood Slice Christmas Ornaments
Supplies
- Cricut Machine
- White Vinyl
- Transfer Vinyl
- Weeding Tool
- Scraping Tool/Smoother
- Scissors
- Wood Slices (3.5- 4″ diameter)
- Black Chalkboard Paint
- Paintbrush
- Hot Glue Gun + Glue Sticks
- Ribbon
- Twine
- Optional: Wood Beads
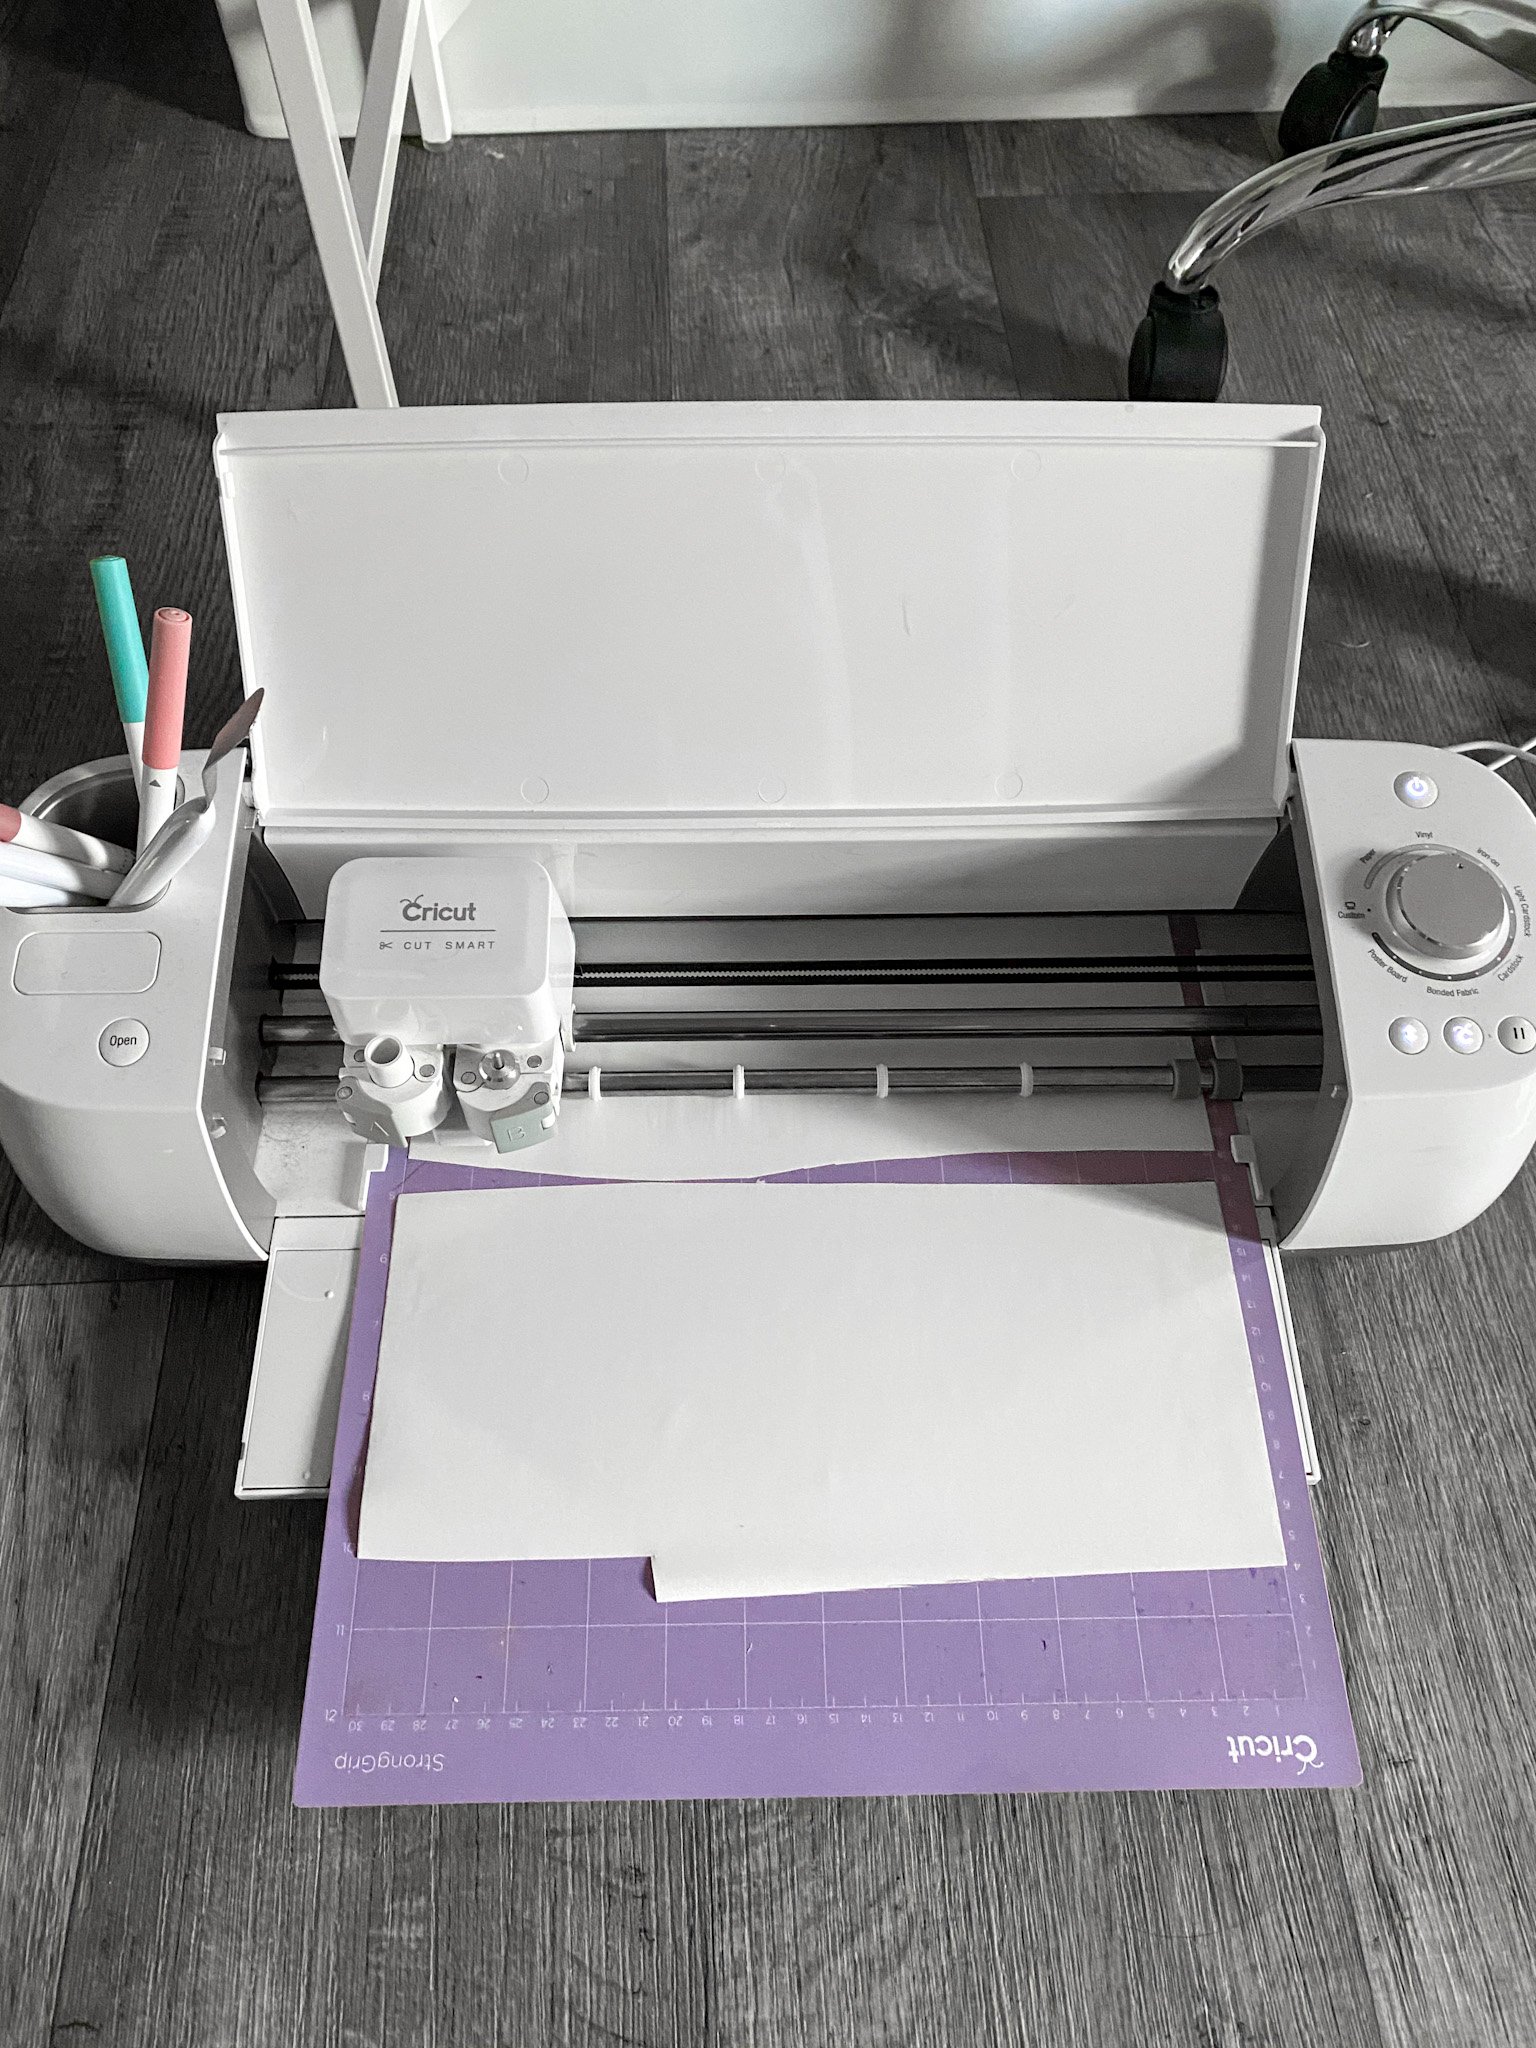
You will need a Cricut to cut out the vinyl. If you have been on the cuff and wondering if you should buy a Cricut, they’re amazing and totally worth the cost! I use them the most to create vinyl decals and cut out paper to use for cards or crafting. You can also make things to sell on Etsy if that’s your thing and it will end up paying for itself. They are a spendy investment, but totally worth it! They also make great gifts. I have the Cricut Explore 2, but the Cricut Maker is the newest version that can cut fabric for sewing projects or thin wood board.
If you don’t have a Cricut, another option would be to order custom vinyl stickers on Etsy in the right size.
For the wood slices, you’ll want to have a hole so that you can hang them. If your wood slices don’t have a hole, you can always use a drill to make your own hole. I linked the wood slices that I used and the chalkboard paint that I used above on the supply list. I also linked the Cricut machine that I use.
Step One:
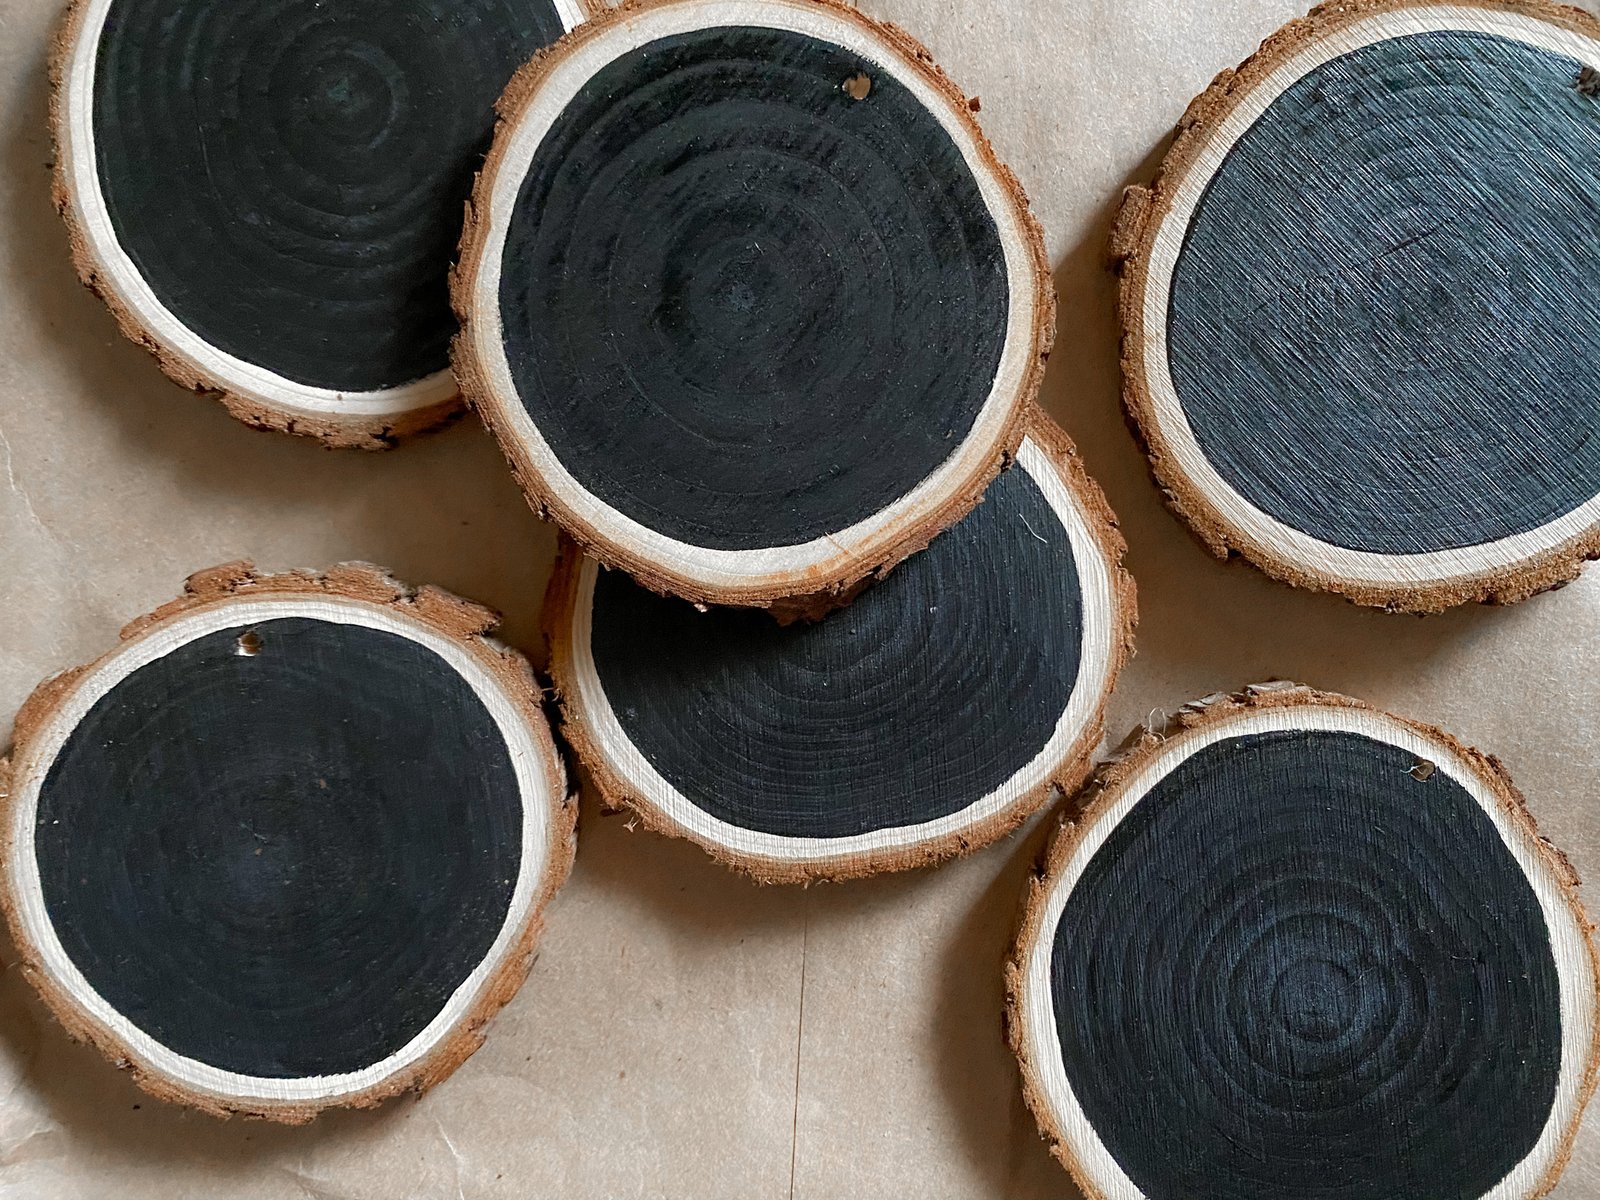
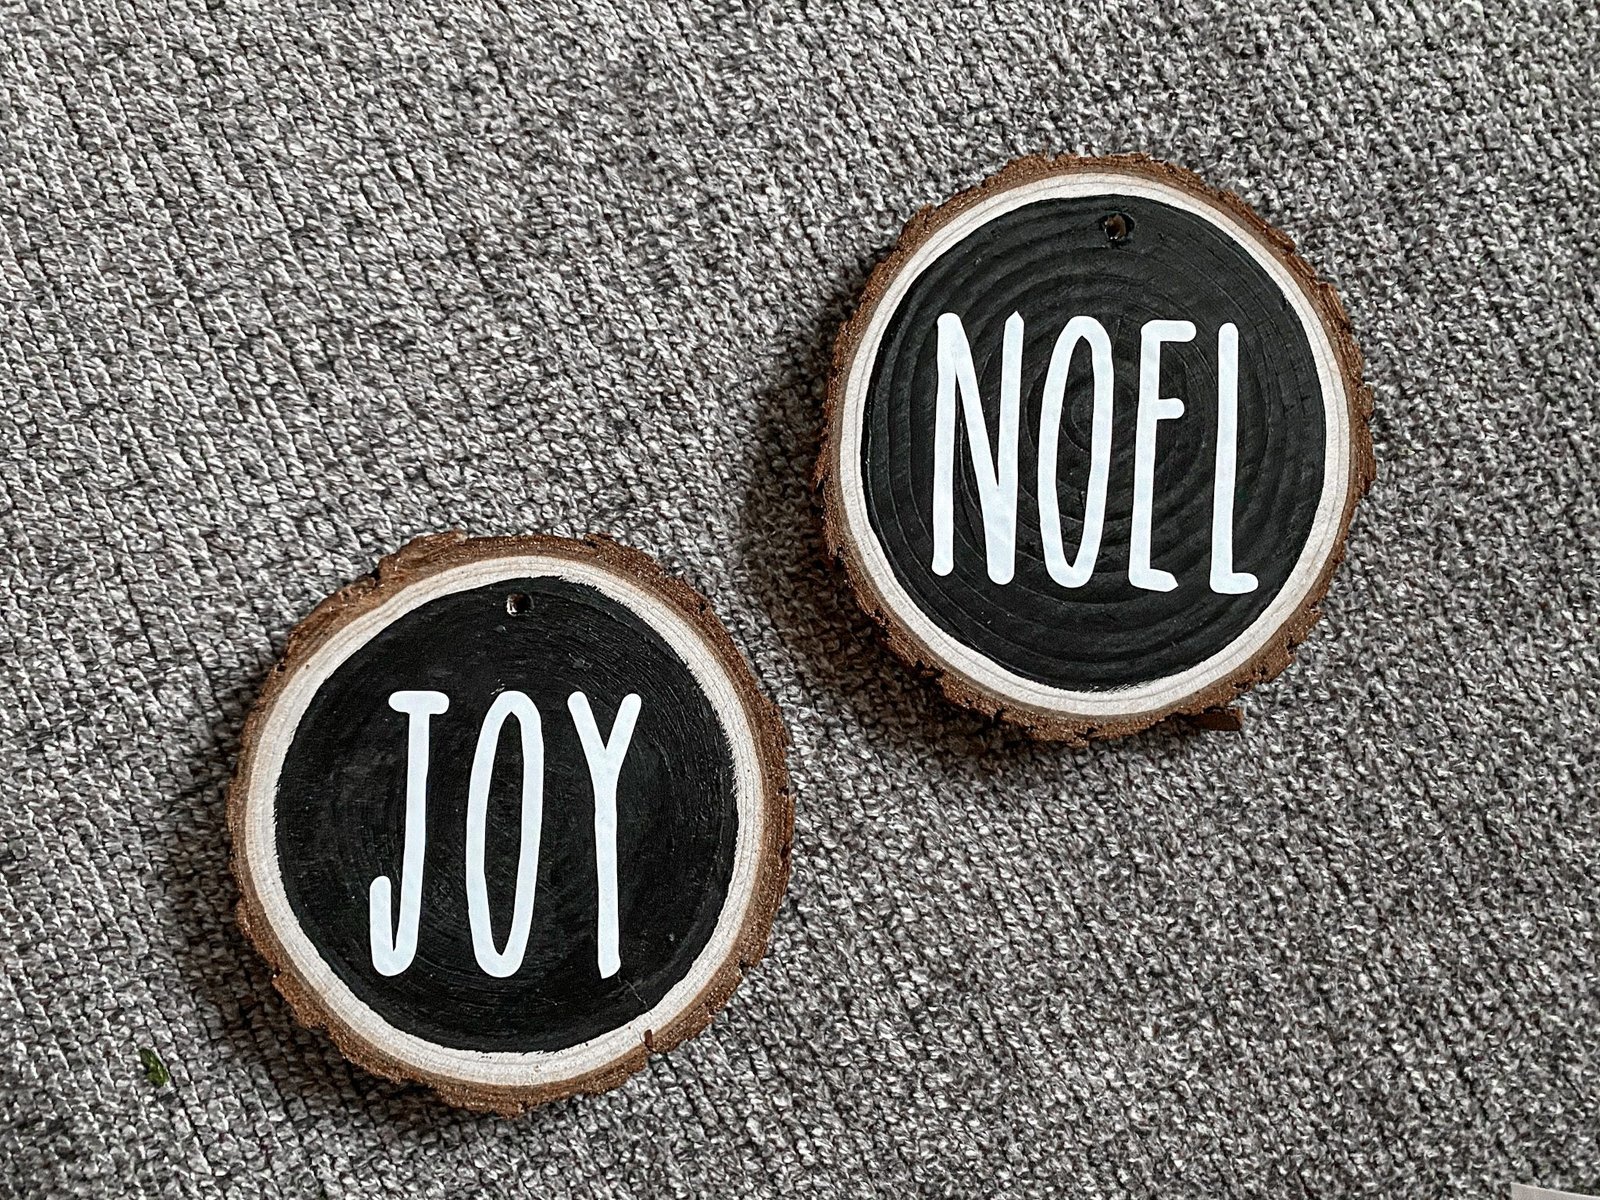
First, you’re going to take the wood slices and paint the circle inside with the black chalkboard paint and set them aside to dry. It will look like the wood slices pictured below. While these are drying you can create a new project on the Cricut dashboard (if you are making your own vinyl words).
For the vinyl, I used the “Skinny” font off of DaFont.com. For these DIY wood slice ornaments, I did 5-6 letter words max with a height of 1.8″ in order to fit on my wood slice. I have also tried doing a smaller font and multiple lines for dates and that also worked well.
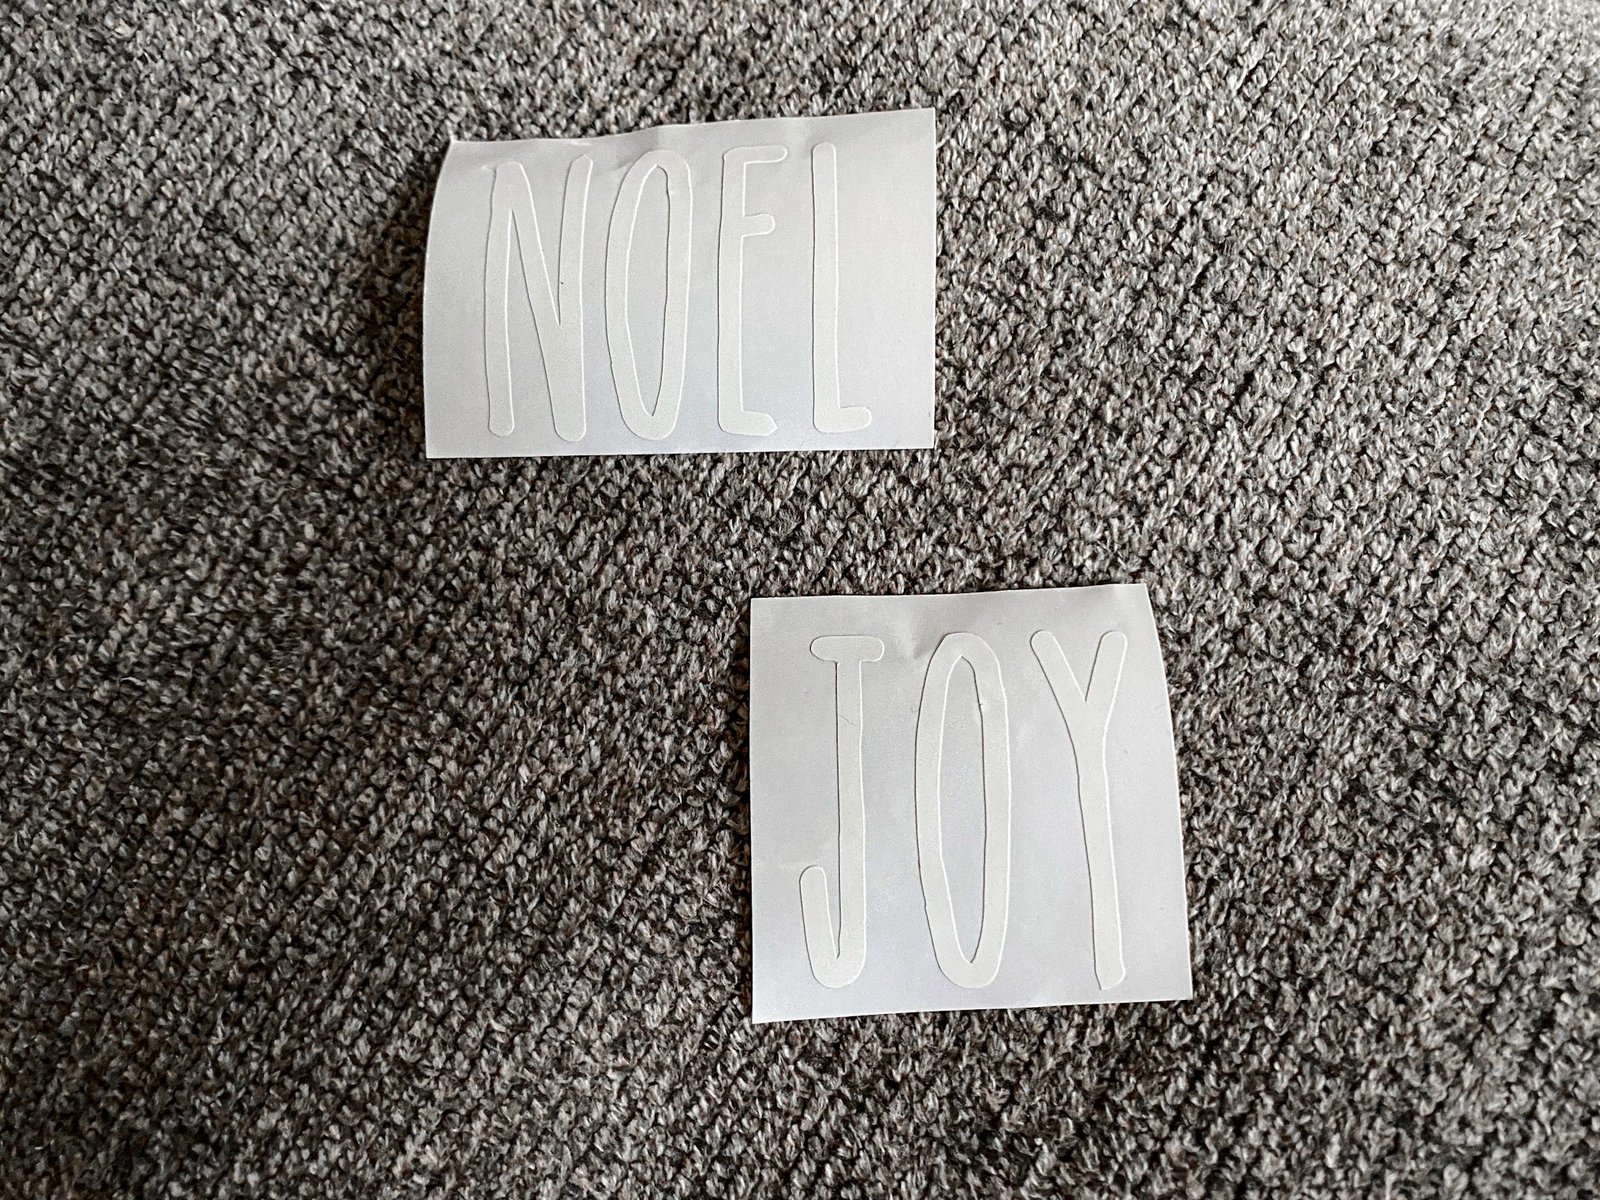
I decided to use Christmas-y words on mine, but I have also made them with names of people or pets, paw prints, and special dates like anniversaries. For my example slices in its post, I went with ‘joy’ and ‘noel.’
Turn your dial to the vinyl setting and cut out the vinyl. I was running out of white vinyl so I just used some remaining scraps of white vinyl that I had.
Step Two
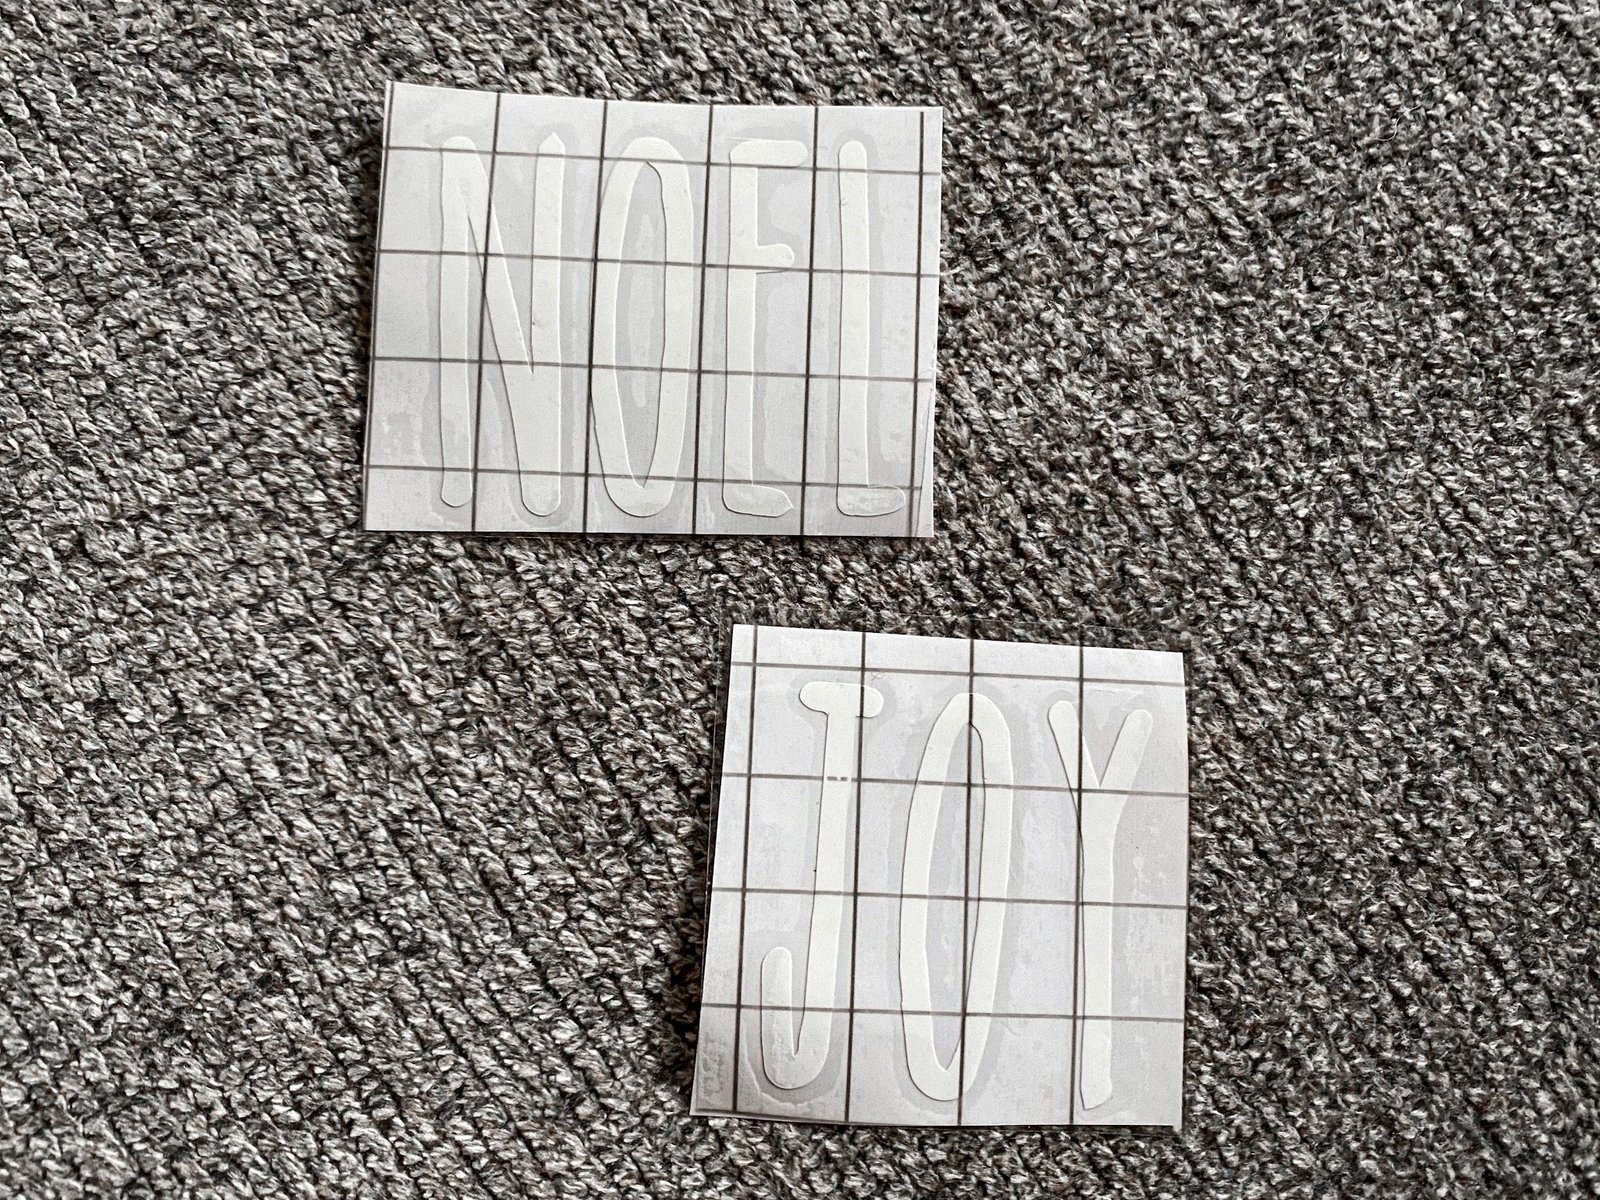
Once the Cricut is finished with the cut, use your scissors to cut out each individual word. Then use the weeding tool to remove all the excess vinyl. When you are finished with this step, you should end up with just your word, as shown by the picture below.
Step Three
Like when working with any vinyl, you’re going to take your transfer vinyl and cut out a piece that covers the word you will be applying to the wood. You’ll then remove the backing to the transfer vinyl and apply it over the word. Using a scraping tool (or something similar like a credit card if you don’t have one), apply pressure and smooth the vinyl.
Step Four
Next, you’re going to lift the transfer paper from the white backing. The word should stick to the transfer paper. If part of the word doesn’t, you can use the smoother tool to try and get it to stick onto the transfer vinyl. Once you’ve lifted it from the backing, you’re going to arrange it how you want it on the wood slice. Again, you’re going to smooth the vinyl into the wood slice by applying pressure starting from the inside of the word and working your way out.
For a short video on how to apply vinyl, check out this one here.
Once it’s sticking to the wood slice you can peel off the transfer vinyl from the wood slice and it should look like the picture below.
Step Five
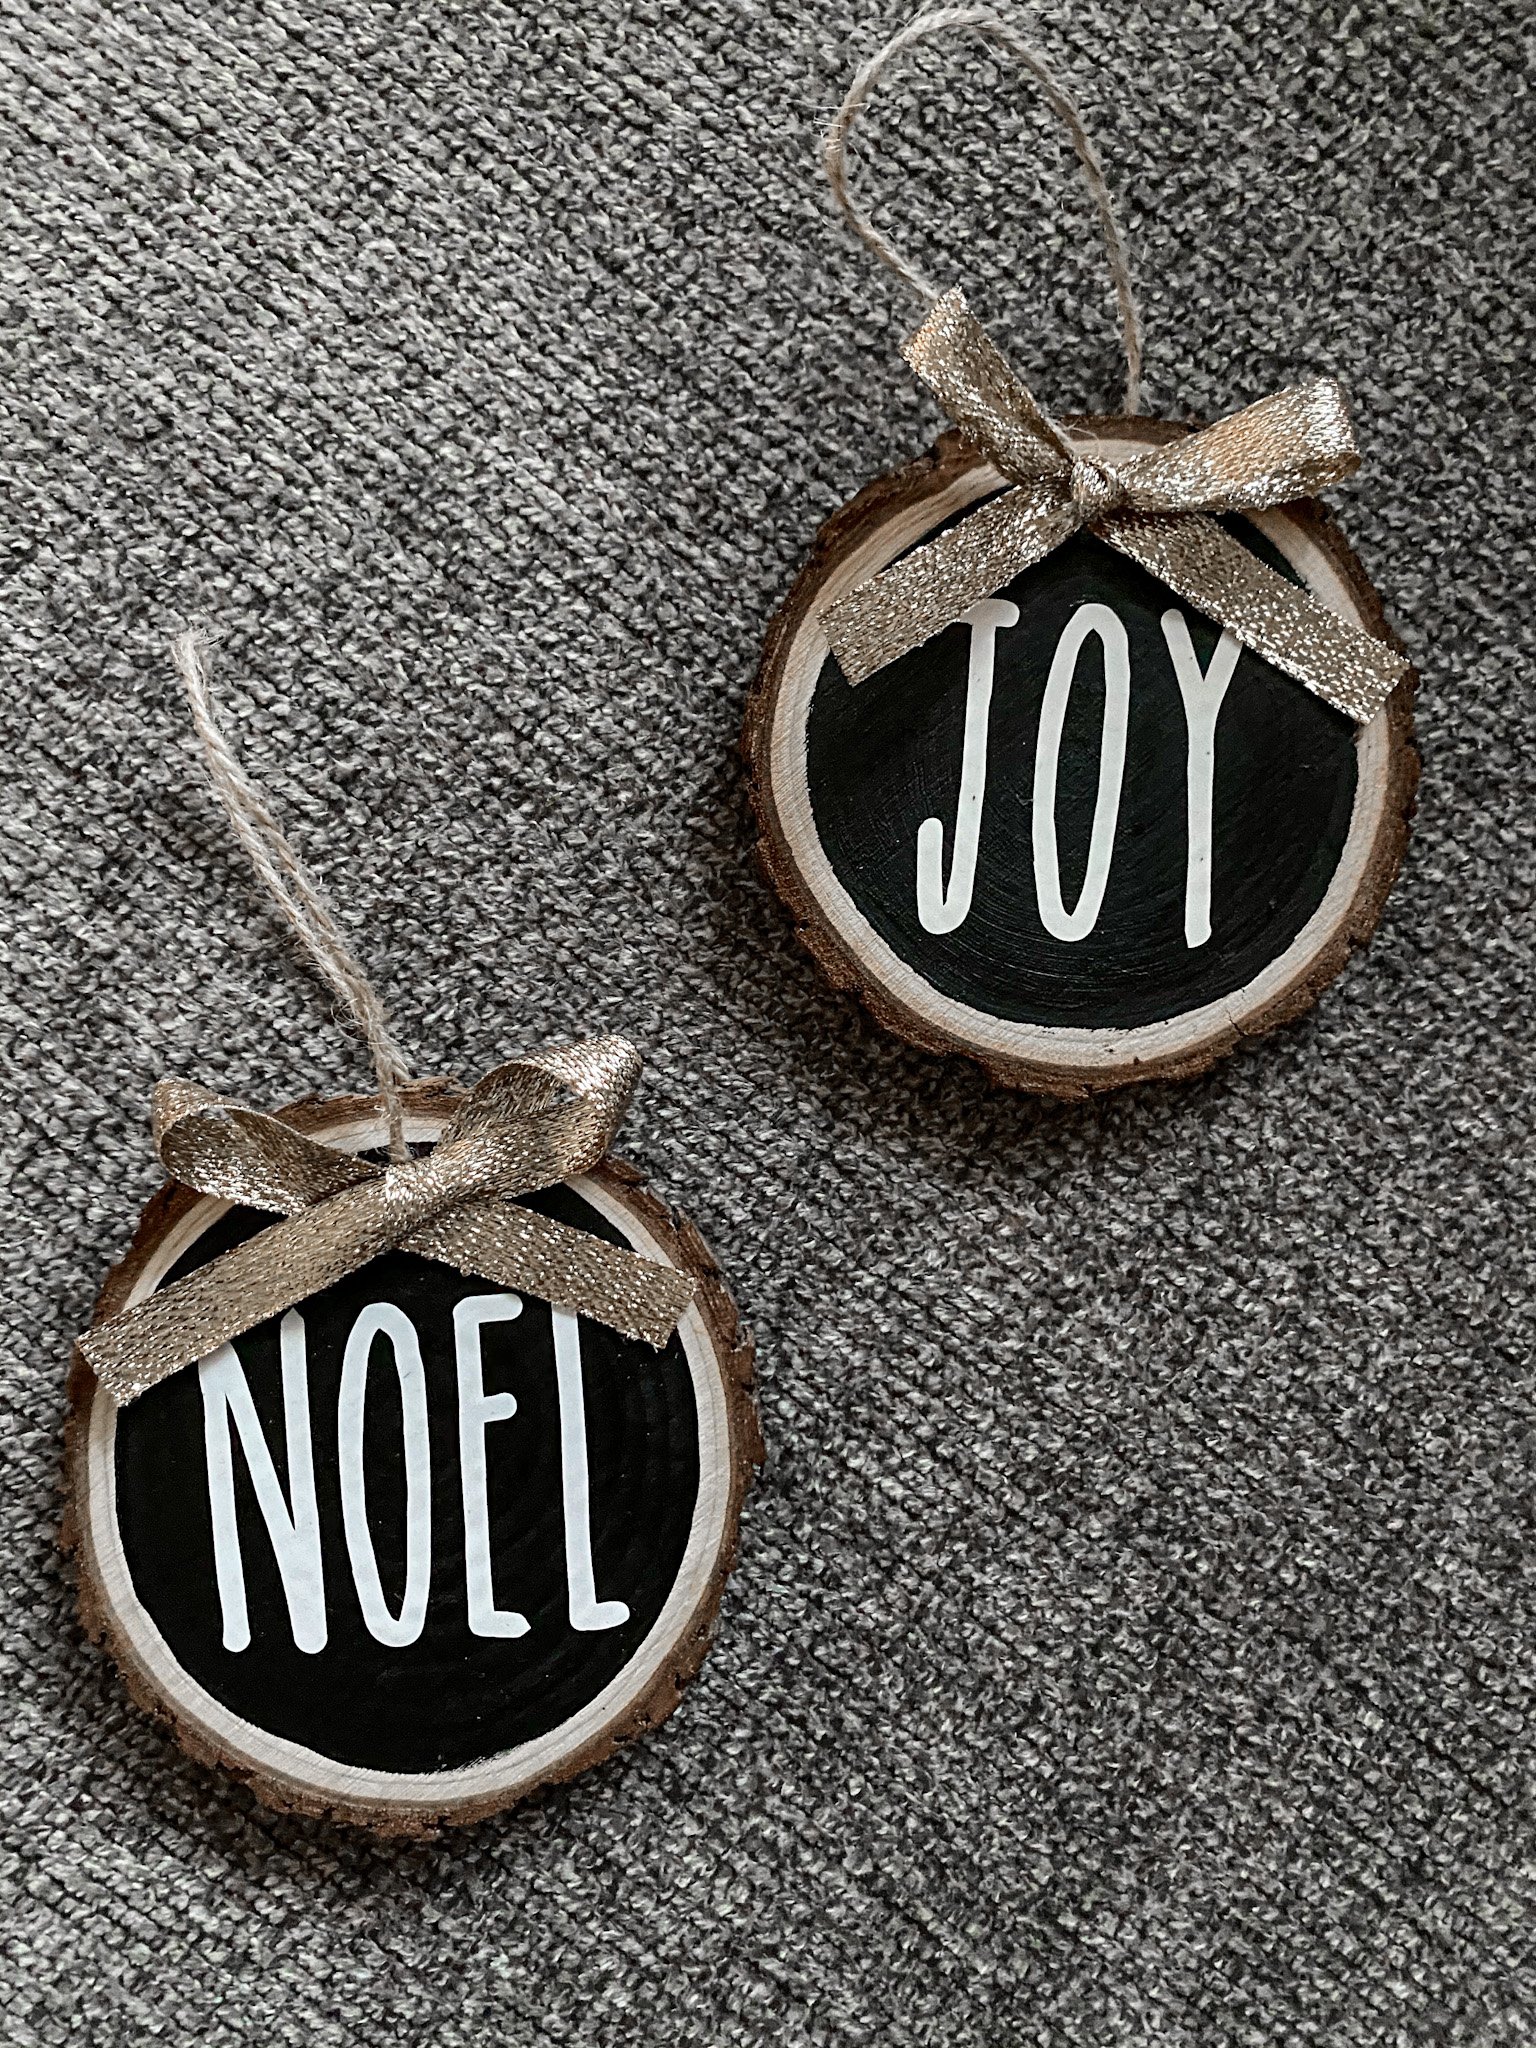
Okay! The hard part is over. All you need to do now is to tie the twine onto the ornament to be able to hang it up and decorate it how you want. I used ribbon to tie a bow and then hot glued it onto the ornament. Adding wood beads would also be cute for this type of ornament!
I hope you enjoyed these easy DIY wood slice Christmas ornaments! Making DIYs and crafting in the winter or around Christmas is a perfect mix. It gets darker early so you can’t really go outside and it’s a great way to destress at the end of the day. Grab your hot cocoa or your mulled wine and you’re all set!
If you make this DIY, be sure to tag me on Instagram or send me your final result. I would love to see!
If you’re looking for more Christmas related posts, check out one of the others that I have posted below:
- How to Have a Festive Christmas at Home
- I Watched 6 Hallmark-style Christmas Movies This Week and Here’s My Thoughts
